
Getting a bot online takes three things: an app, an API registered against it, and the token that API hands you. This page walks through all three.
💡 The token is the only credential your bot needs — there is no separate API key or secret. Treat it like a password.
1. Sign in to nandbox
Go to the sign-in page to open the App Builder.
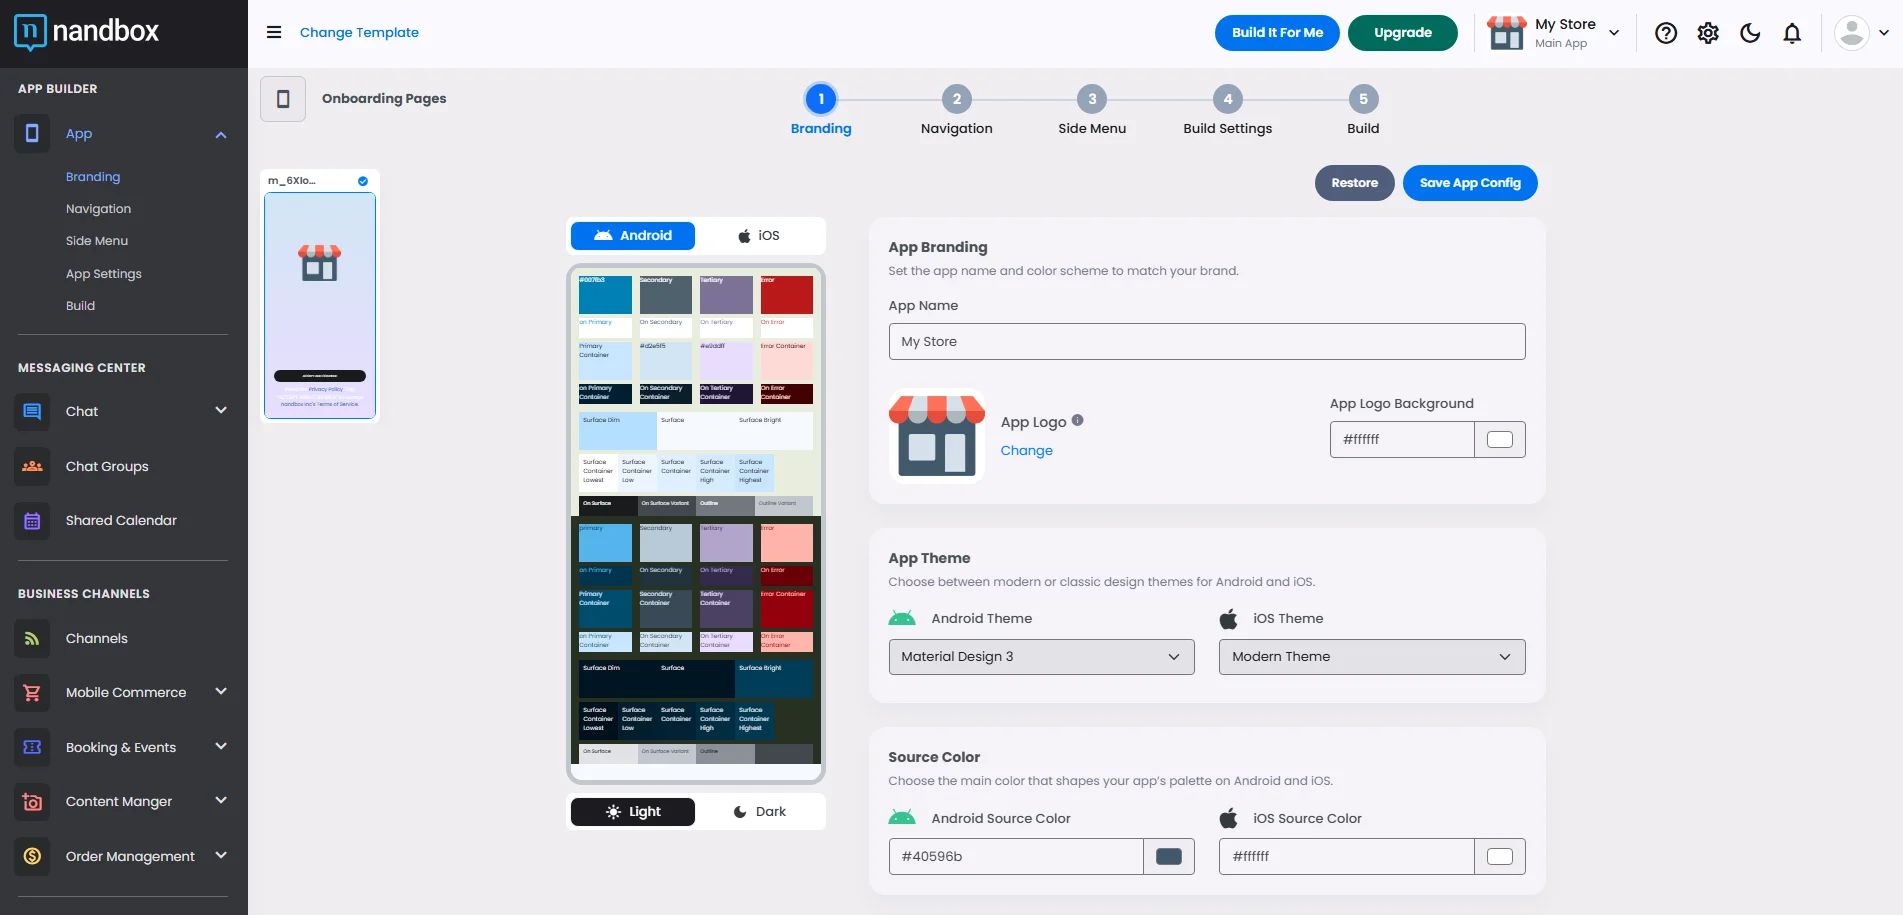
2. Register an API
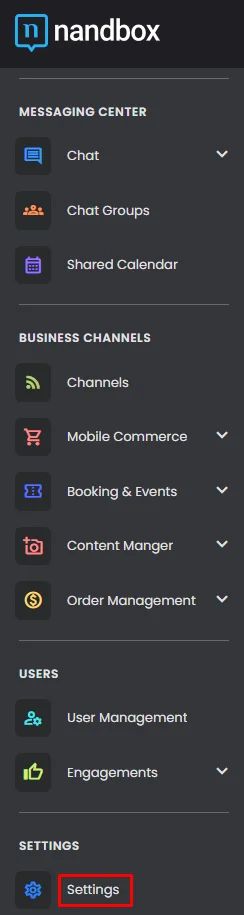
With your app created and its components saved, open the admin menu and click Settings.
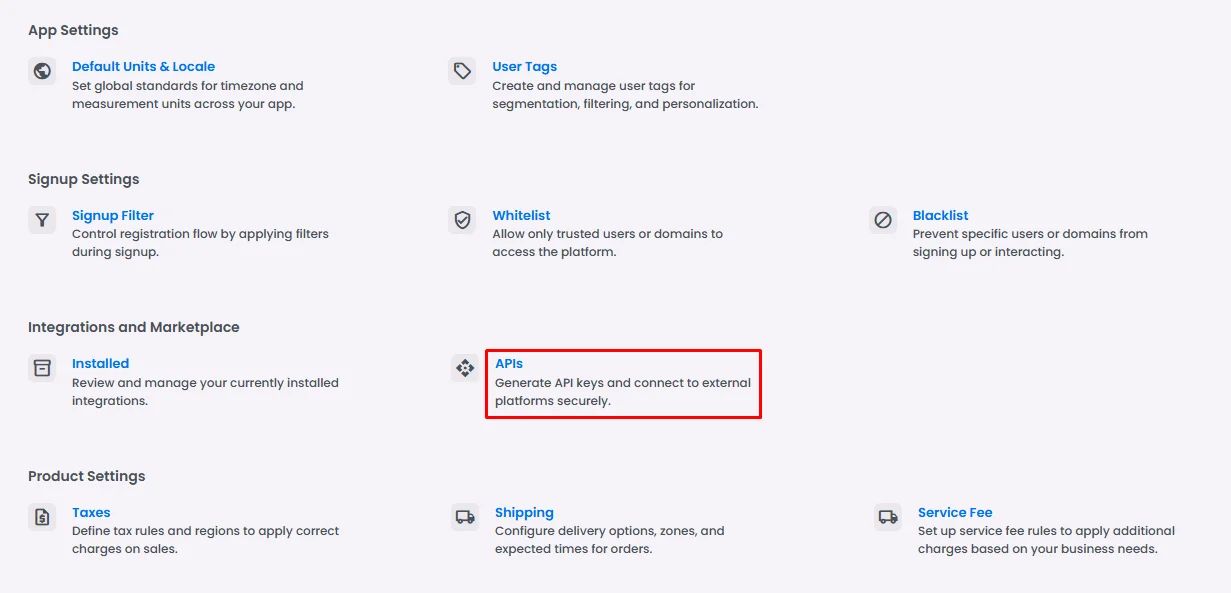
Click API.
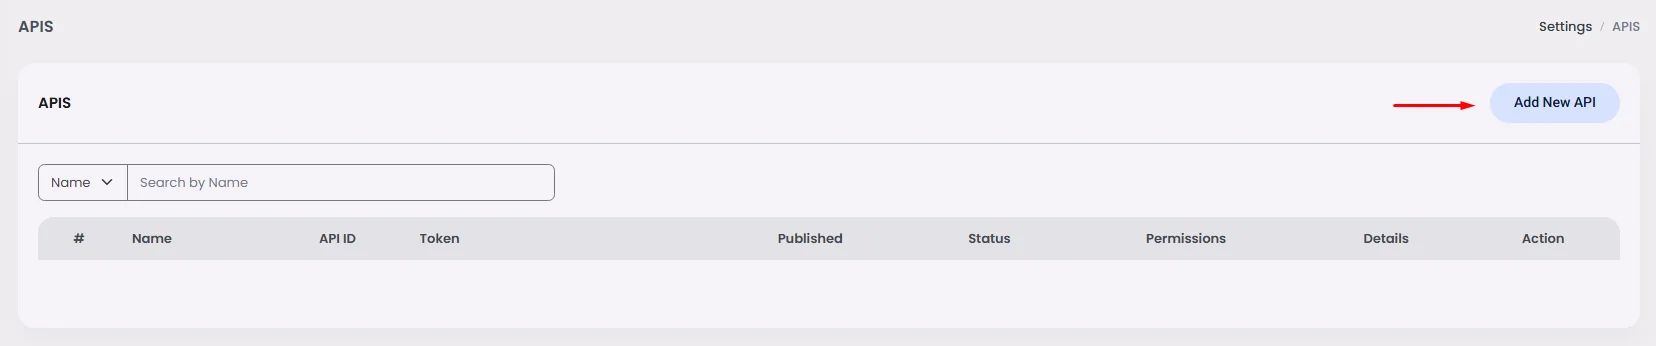
Click Add New API.
Enter a name for your bot, then click Save.
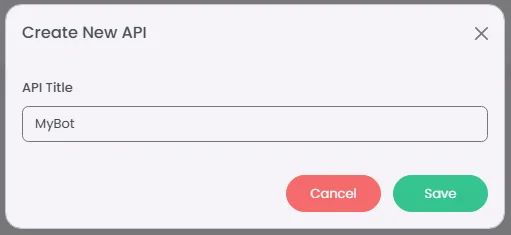
3. Copy the token
The new API now shows an authorization token. This is what connects your bot to the server.
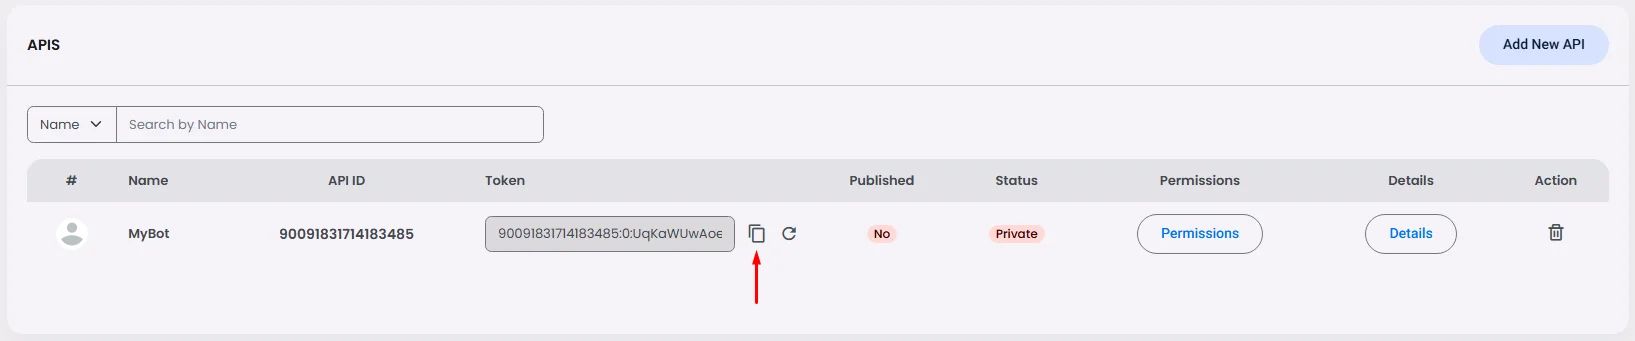
4. Configure your bot
Drop the token into your SDK's config file —
config.properties for Java, config.json for JavaScript and Python — alongside the server URLs:json{ "Token": "<YOUR_TOKEN>", "URI": "wss://w1.nandbox.net:5020/nandbox/api/", "DownloadServer": "https://w1.nandbox.net:5020/nandbox/download/", "UploadServer": "https://w1.nandbox.net:5020/nandbox/upload/" }
Replace
<YOUR_TOKEN> with the token you just copied. A token looks like <accountId>:<chatId>:<secret>.⚠️ Never commit the token or ship it in client-side code. Anyone holding it can act as your bot.
Next
- AUTHENTICATION — open the WebSocket session and authenticate.
- MESSAGES — send your first message and handle incoming ones.
- ERROR HANDLING — what the error codes mean.